
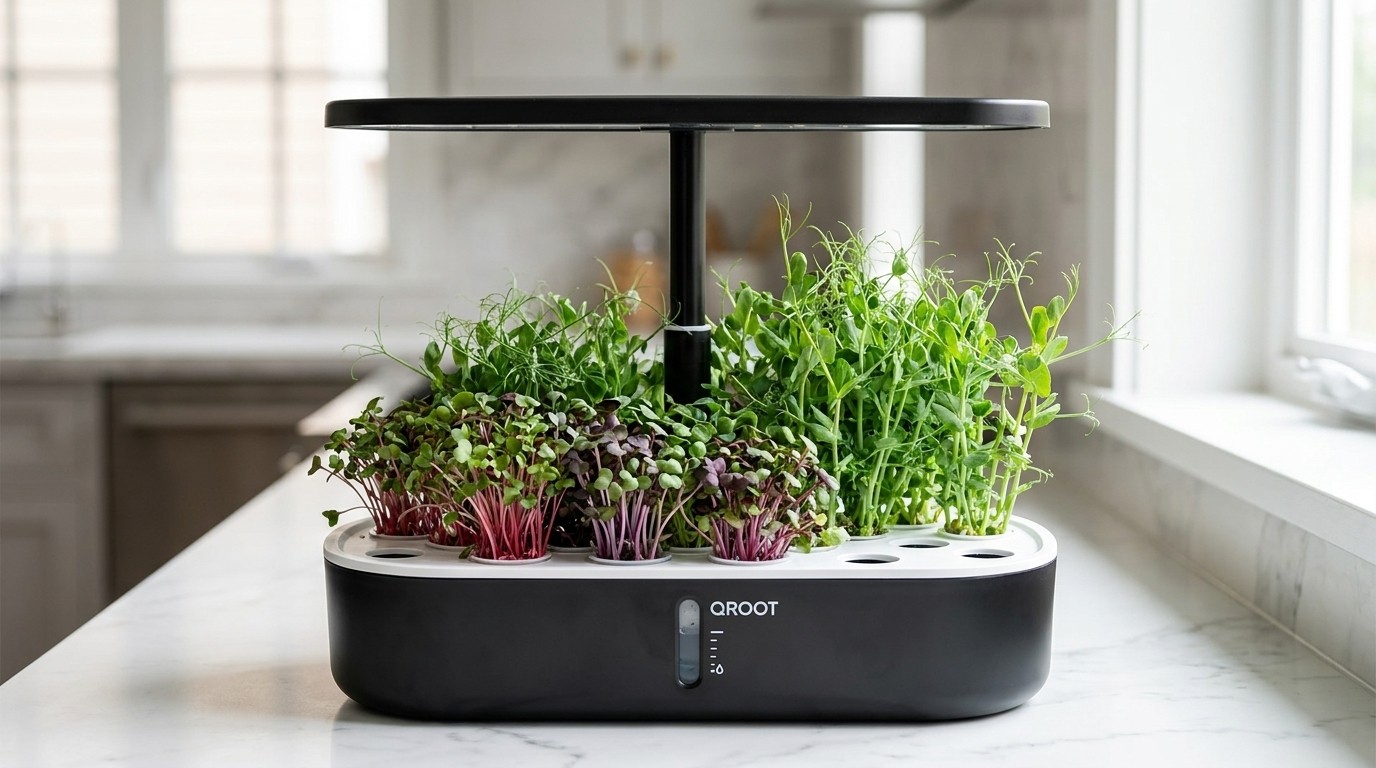
Why microgreens are worth growing at home
Microgreens are the young seedlings of vegetables and herbs, harvested about a week or two after sowing, when the first leaves are up. They are the fastest crop I grow in my QROOT, and gram for gram they are also one of the most expensive things at the store, often around two thousand rupees a kilo for the tender punnets you see at premium grocers. Growing them at home turns that into pennies, and you cut them minutes before they hit the plate.
Beyond the cost, microgreens pack a lot of flavour and nutrition into a tiny leaf. Research has found many microgreens carry several times the nutrients of the same plant fully grown, so a small handful goes a long way on a salad, a toast, a bowl of dal, or a garnish. They are the easiest way to eat fresh, pesticide-free greens every single day.
The best microgreens to start with
Some seeds are far friendlier for a first grow. These are the ones I reach for again and again:
- Radish is the fastest and most forgiving, ready in about seven days with a peppery kick.
- Mustard grows quickly and adds a sharp, wasabi-like bite.
- Sunflower gives thick, crunchy, nutty shoots that fill out a plate.
- Pea shoots are sweet, tender, and a favourite with kids.
- Broccoli and mung bean are mild, nutrient dense, and grow reliably indoors.
Start with radish or pea if you have never grown microgreens before. They sprout fast, which keeps the whole thing feeling rewarding.
How to grow microgreens in your QROOT, step by step
An indoor hydroponic garden makes microgreens almost foolproof, because the light and water are handled for you. Here is the routine I follow.
Step 1: sow the seeds densely
Microgreens are grown crowded, not spaced out like full plants. Take a damp cocopeat pod and scatter the seeds thickly across the top so they nearly cover the surface, since you will harvest them young before they compete for room. There is no need to bury them, just press them gently into the cocopeat.
Step 2: give them a dark start
For the first two or three days, keep the seeds covered with the clear dome or a light cover so they stay dark and humid. This blackout phase makes the shoots stretch up and root down evenly. Check daily and mist if the surface looks dry.
Step 3: switch on the light
Once you see the first shoots stand up, take the cover off and let the QROOT full-spectrum grow light do the work. Around fourteen to sixteen hours of light a day turns the pale shoots green and sturdy. Keep the light close, since microgreens are short and want bright light near the leaves.
Step 4: keep the water topped up
Microgreens are thirsty for their size. The self-watering tank keeps the cocopeat moist from below, which is exactly what you want, since watering from the top on crowded shoots can invite mould. Add a light dose of nutrients to the tank for stronger, greener growth.
Step 5: harvest at the first true leaves
Most microgreens are ready seven to fourteen days after sowing, once the first pair of leaves has opened and, for some, the first true leaf is showing. Snip them just above the cocopeat with clean scissors. Harvest in the morning when the shoots are crisp, rinse lightly, and eat them fresh the same day for the best flavour.
Then resow and go again
Microgreens are a cut-once crop, so once you harvest a pod you sow a fresh one and start the short cycle over. Staggering a new pod every few days gives you a steady supply of fresh microgreens all week, all year, with no soil and no sunlight needed.
Common mistakes to avoid
- Overwatering from the top. Let the tank wick moisture up from below and mist only lightly, or crowded shoots can rot.
- Skipping the dark start. A couple of covered days gives you taller, more even shoots.
- Harvesting too late. Microgreens are best young and tender. Once true leaves toughen, the flavour turns bitter.
- Sowing too thin. Microgreens like company. A dense sowing gives you a fuller, more generous harvest.
The bottom line
Microgreens are the quickest, cheapest way to get fresh, pesticide-free greens from your own counter, and a hydroponic garden makes them about as easy as growing gets. Sow thick, keep them dark for a couple of days, give them light and water, and cut in about ten days. Once you taste homegrown radish or pea shoots, the store punnets are hard to justify.