
From box to basil in weeks.
No soil, no sunlight, no green thumb required. Here's how your QROOT garden grows dinner while you go about your day.
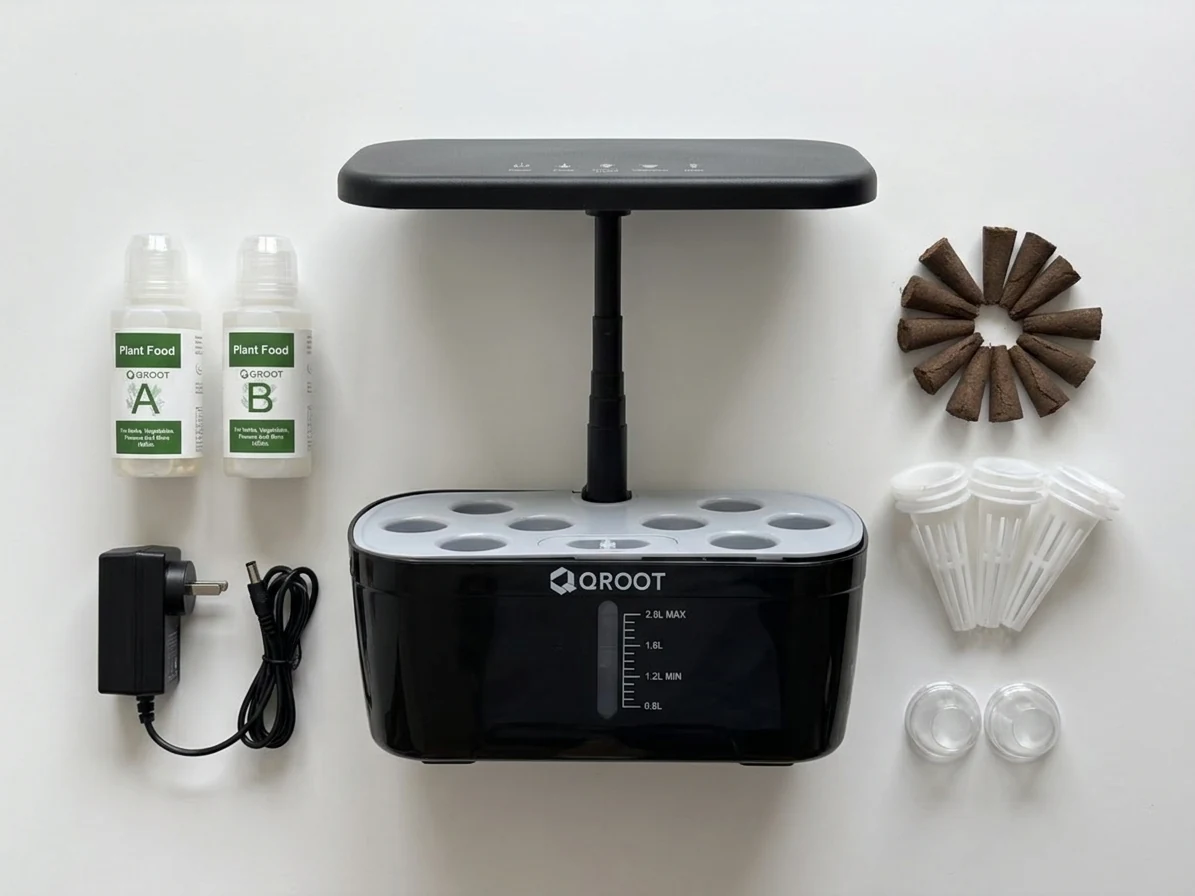
Unbox everything
Check the pack listLay out the device, baskets, cocopeat sponges, domes, seeds and nutrient bottles, and check the count against the pack list. Set the garden on a flat surface near a power point.
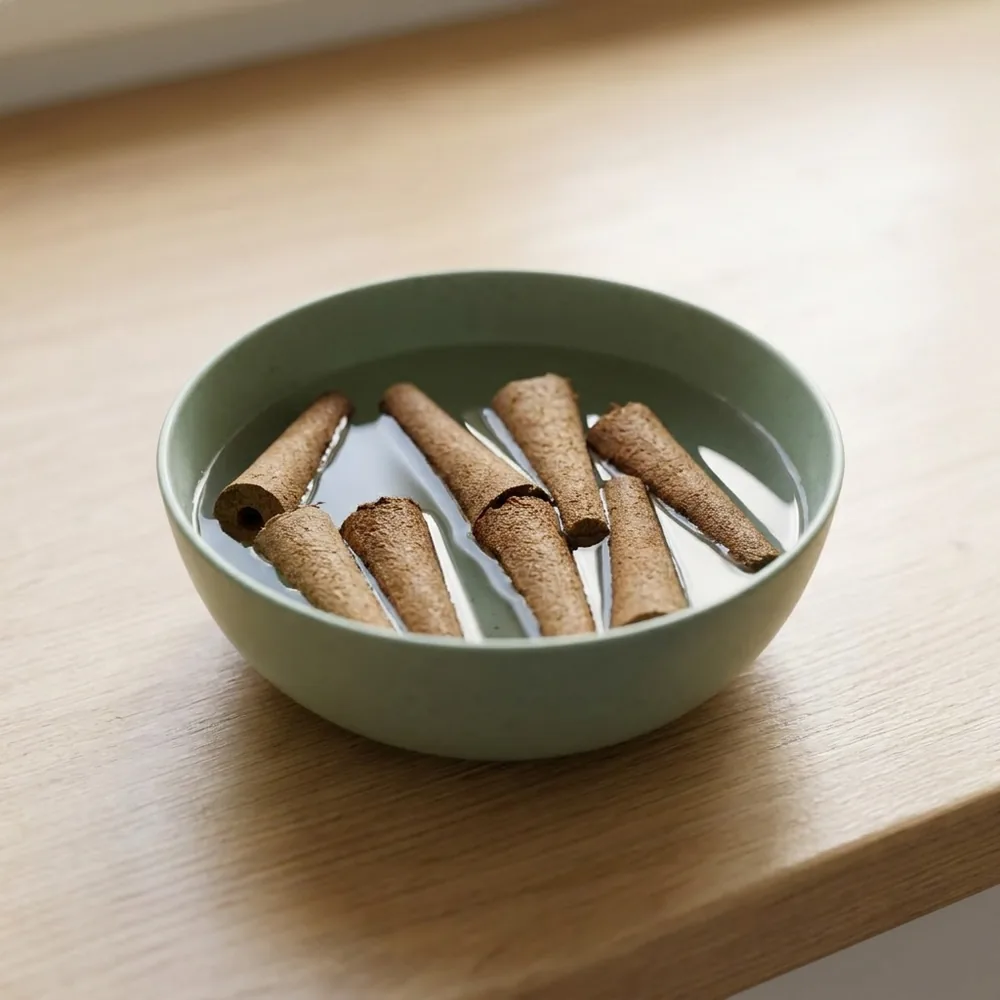
Soak the cocopeat sponges
5 minutesSoak the sponges in water for five minutes. They should feel damp all the way through, not dripping. Squeeze out any excess.
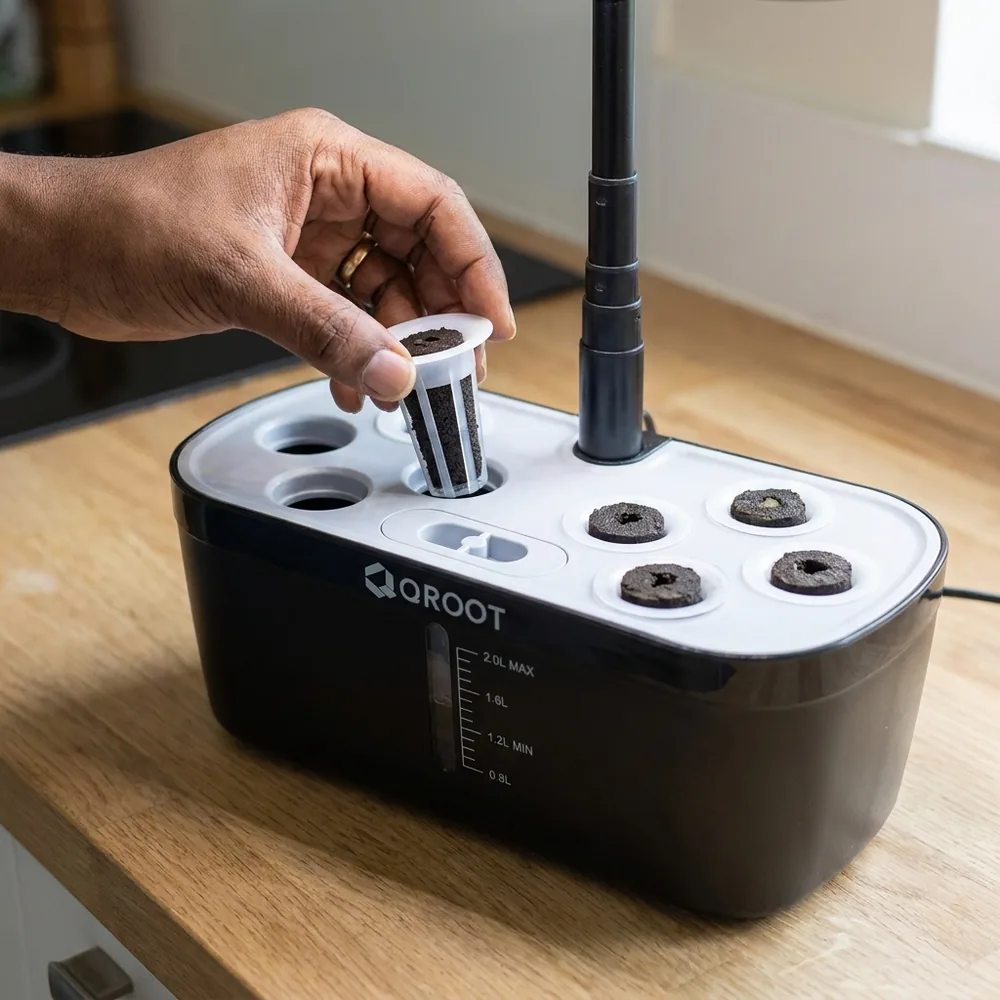
Load baskets and sponges
Seat them flushDrop a soaked sponge into each basket, then seat the baskets into the pod openings. They should sit flush.
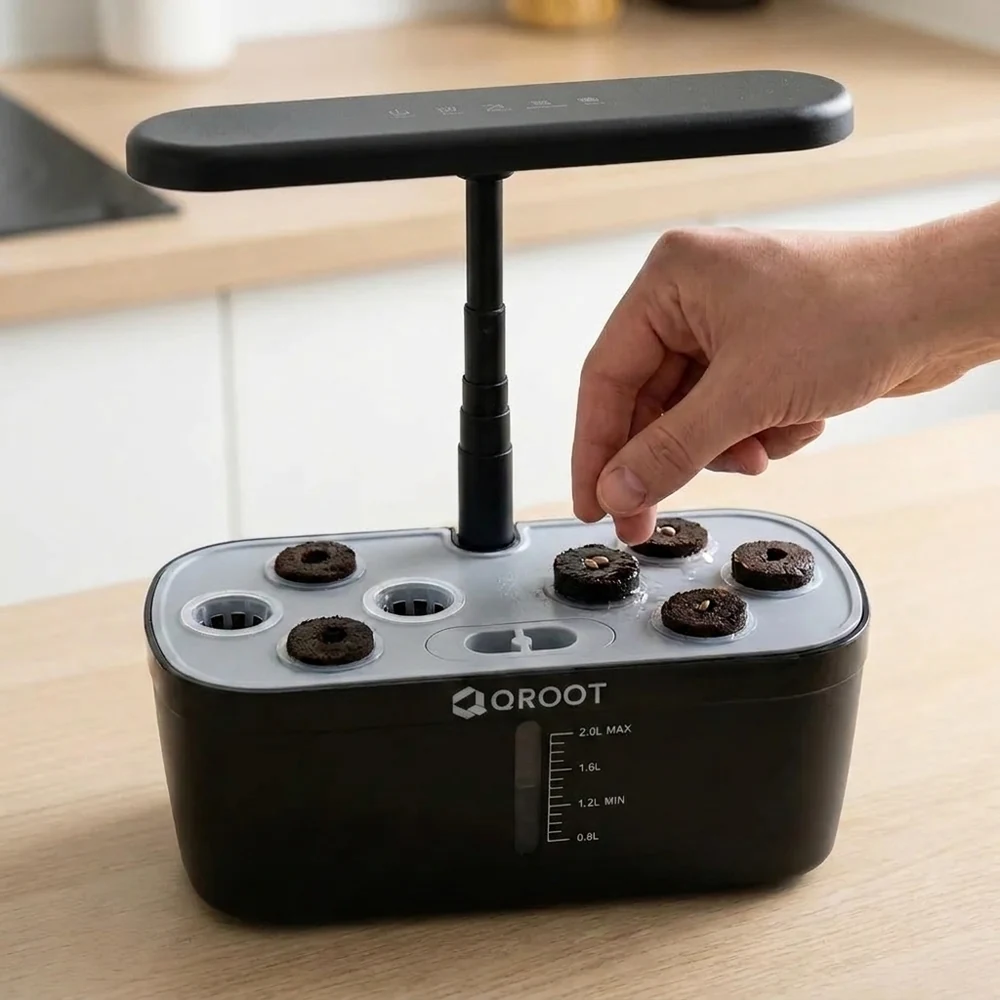
Add seeds to each sponge
2–3 per spongePress two or three seeds lightly into the centre hole of each sponge. You’ll thin to the strongest seedling later.
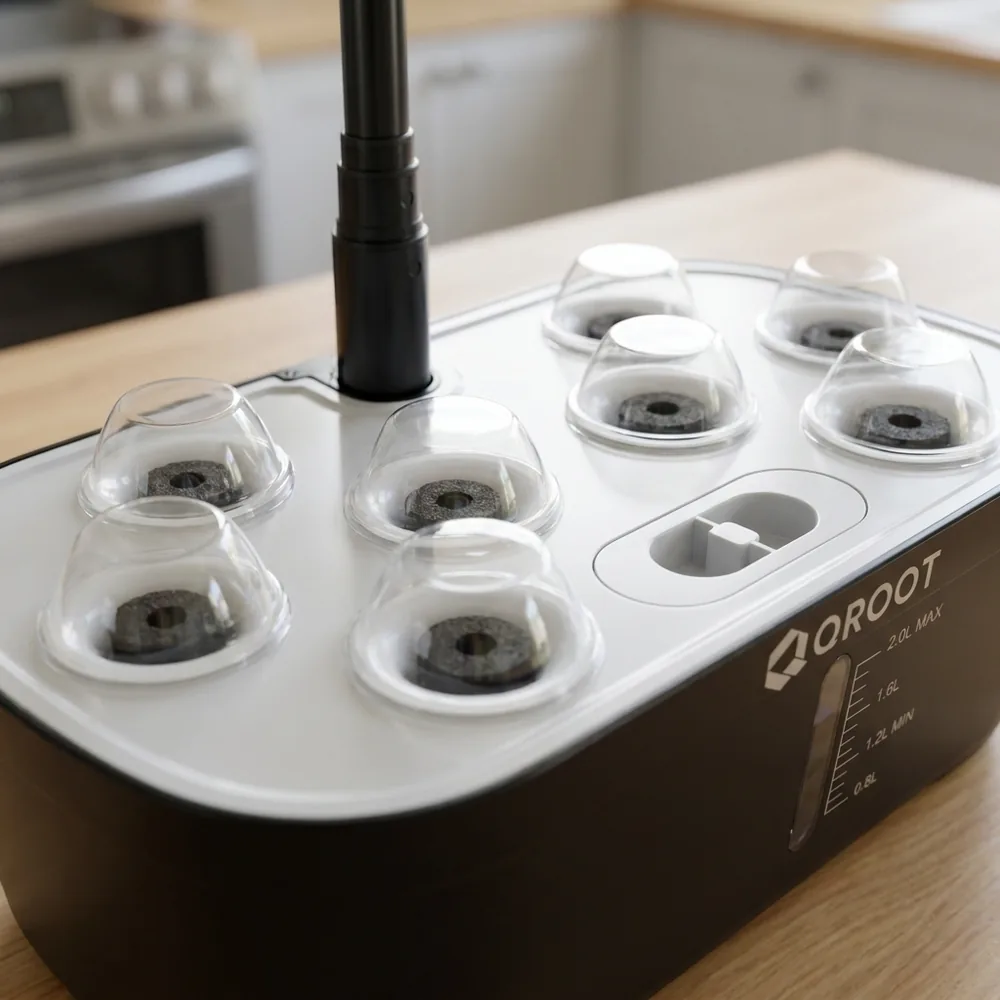
Cover with the domes
Hold humidityThe domes hold humidity around the seeds. Leave them on until the sprouts touch the top.
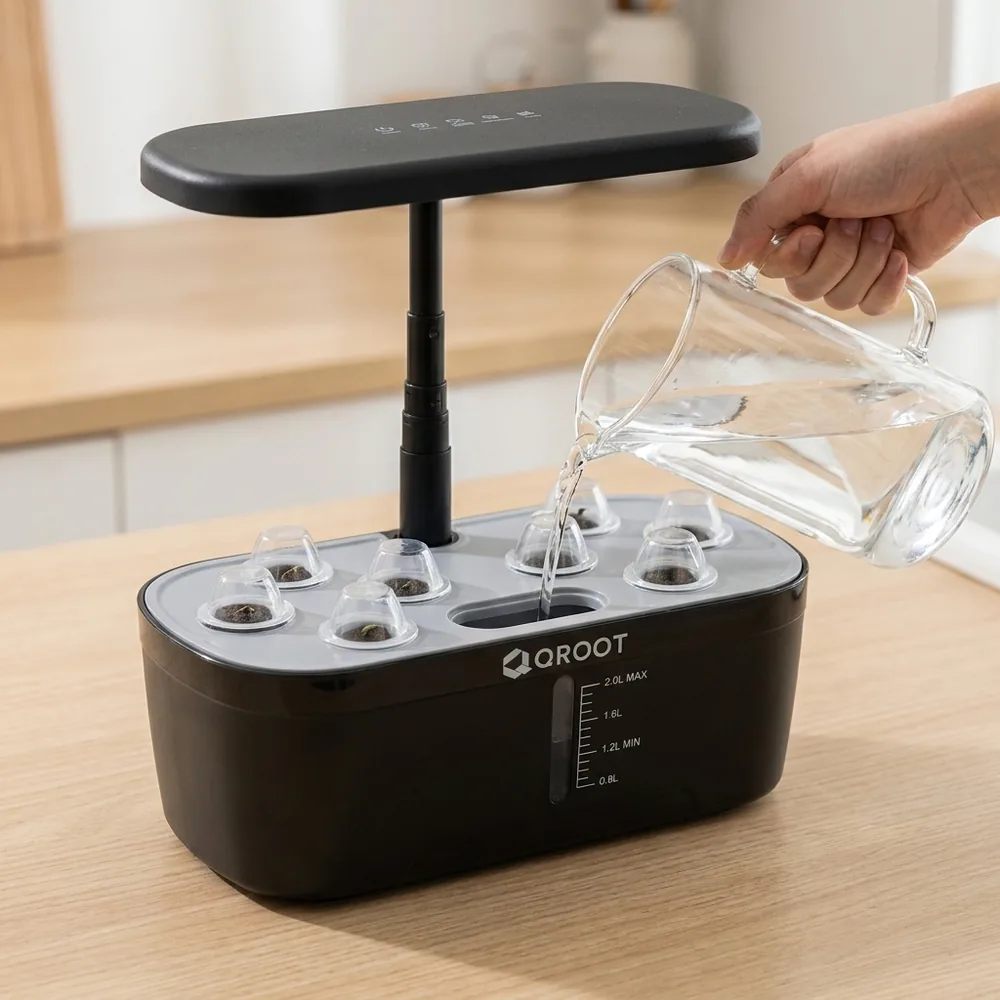
Fill water to the half-sponge mark
Half-spongeAdd RO water until it just touches the bottom half of the sponges, enough to wick up but not enough to drown the seeds.
No nutrient yet. Seeds germinate on plain water. Nutrient at this stage can burn the new roots; it goes in at step 7.
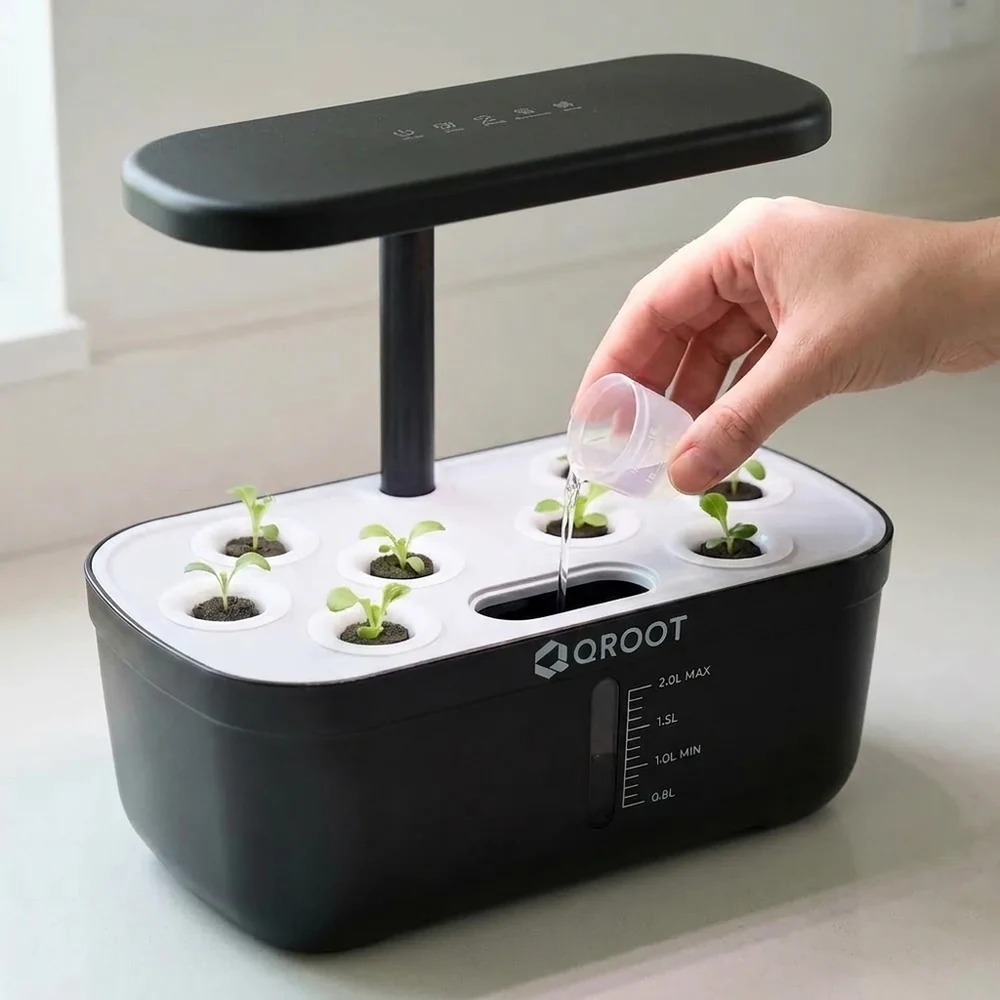
Add plant food and fill to max
5 ml A + 5 ml B / LOnce the seeds have germinated, take the domes off. Measure with the cap: 5 ml of Plant Food A and 5 ml of Plant Food B for every 1 litre of water. Pour both into the fill port, then top up to the max line with RO water.
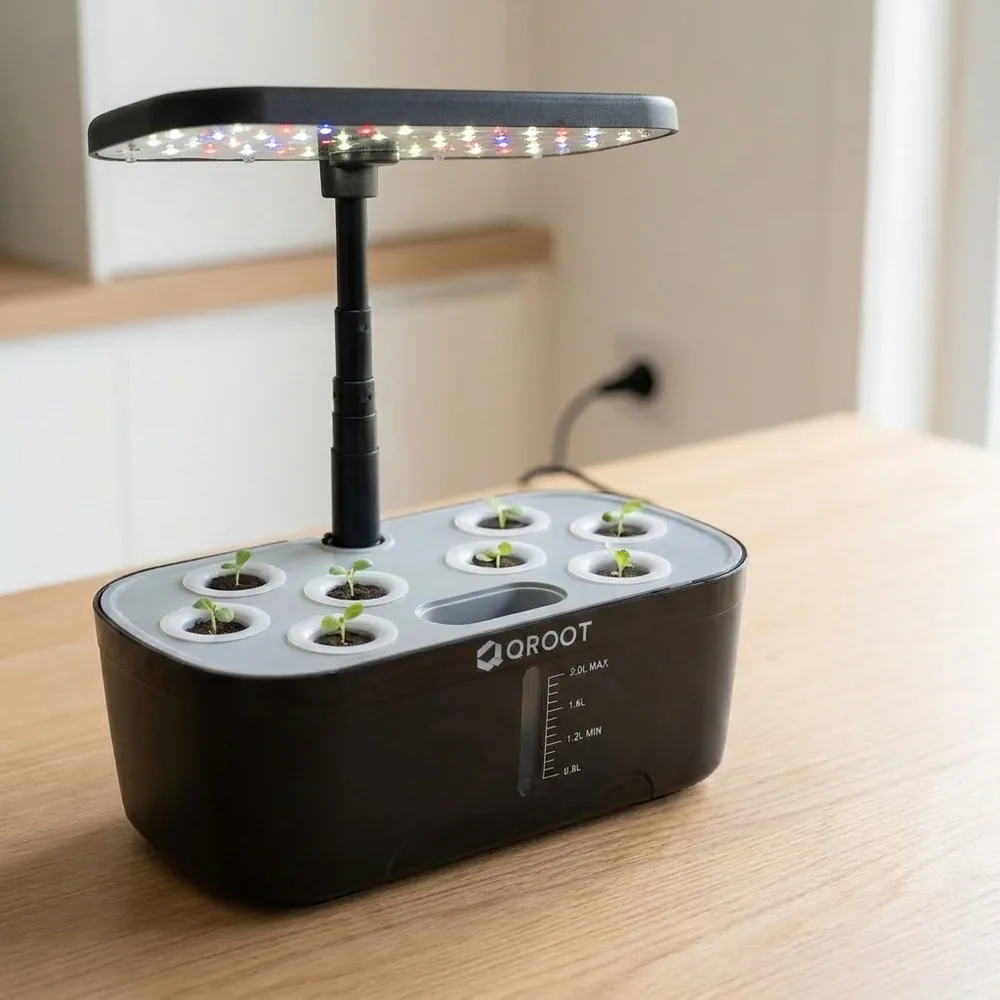
Plug in and switch the light on
Daily cycleThe LED runs on a daily cycle from here. Leave it to its schedule rather than switching it on and off manually.
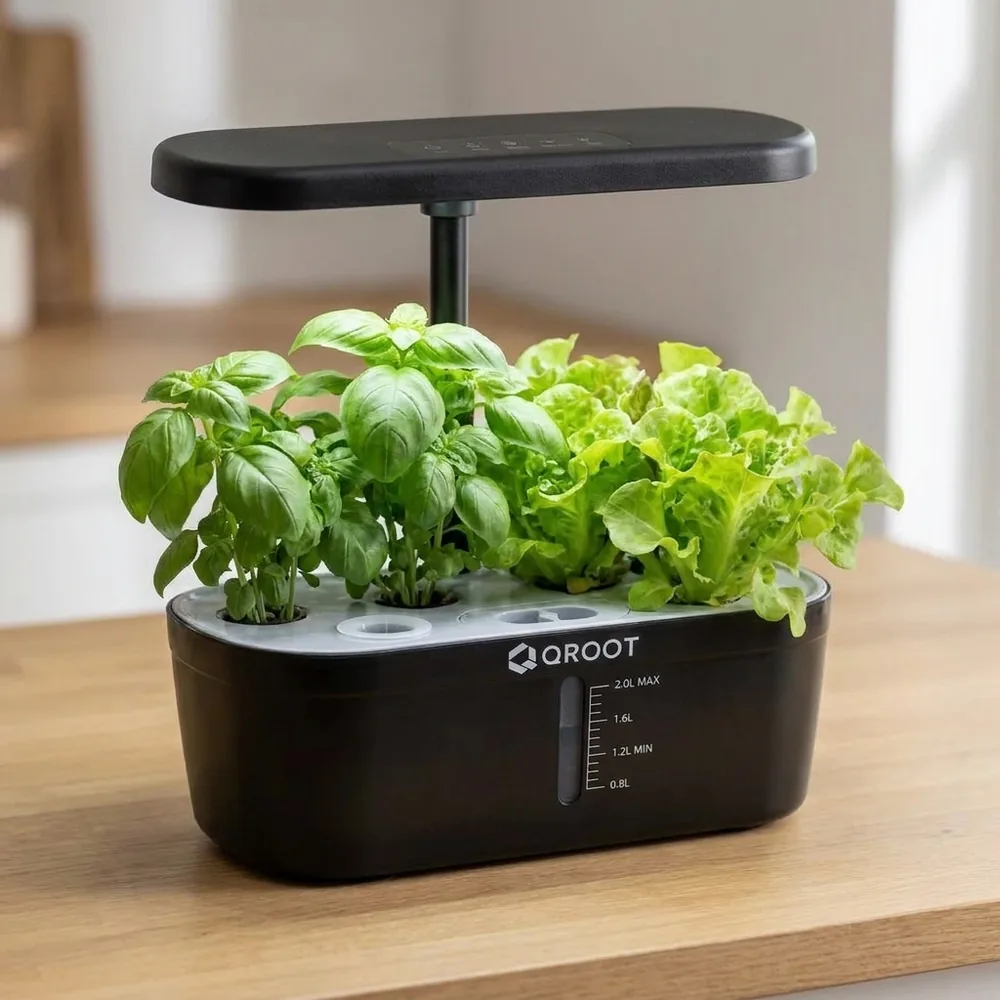
Keep 2 inches between plants and light
≈ 2 inchesRaise the light bar as the plants grow. Too close scorches the leaf tips; too far makes stems long and weak.
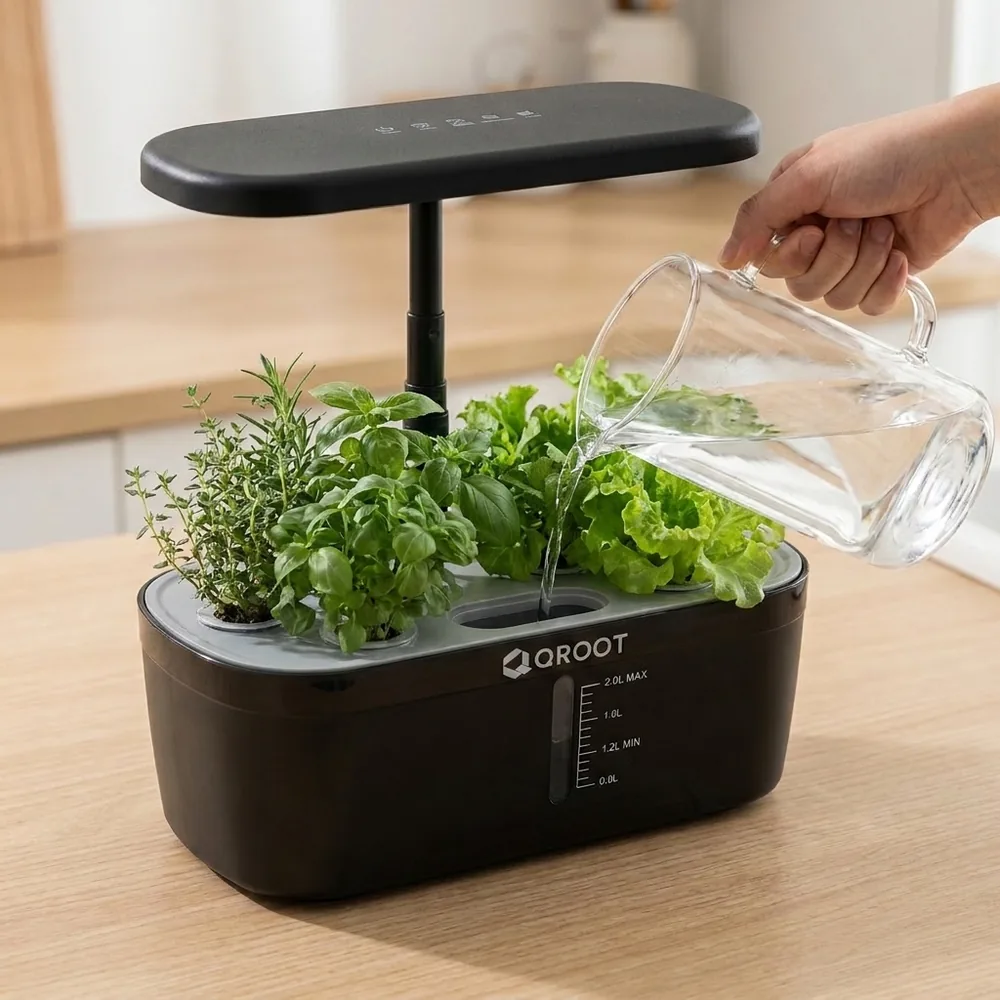
Use RO water throughout
Always ROUse RO water for every top-up and refill. It keeps the nutrient balance predictable and the pump free of scale.
What's in the box
Everything you need to start growing. Seeds are the only thing you add - pick your favorites from any garden store or online seed shop.
- Garden base with pump1
- LED grow-light panel1
- Grow baskets8 or 12
- Cocopeat sponges8 or 12
- Dome caps8 or 12
- Nutrient A bottle1
- Nutrient B bottle1
- Power adapter1
Your first harvest, day by day
Seeds absorb water and crack open.
Sprouts push through the sponge.
Leaves develop. Stems thicken.
Plants fill out. Aroma starts.
Harvest-ready. Snip and eat.
Keeping it going
Top up weekly
Check the level once a week and refill to the max line with RO water.
Refresh each new cycle
Starting a new batch of seeds? Empty the tank, rinse it, and mix fresh nutrient.
Harvest outer leaves
Cut from the outside and leave the centre. The plant keeps producing for weeks.
Thin the crowded pods
Snip weaker seedlings so one strong plant per pod gets the light.
Ready to grow?
Pick a garden, plant your seeds, and harvest fresh greens in about four weeks.
Shop gardens


